Home bakers
-
Bring Me The News: Riverside town in Minnesota named one of the Midwest’s best small towns
https://bringmethenews.com/minnesota-lifestyle/riverside-town-in-minnesota-named-one-of-the-midwests-best-small-towns
-
[The Washington Post]
https://www.washingtonpost.com/food/2023/10/11/national-book-month-recipes/
-
Grub Street: 2022 James Beard Award Winners: The Full List
Grub Street: 2022 James Beard Award Winners: The Full List. https://www.grubstreet.com/2022/06/2022-james-beard-chef-and-restaurant-award-winners-full-list.html
-

Country Fair: Nostalgic Blue Ribbon Recipes From America’s Small Towns
Culture, tradition, local foods, and dedicated home bakers and cooks come together to make a county…
-
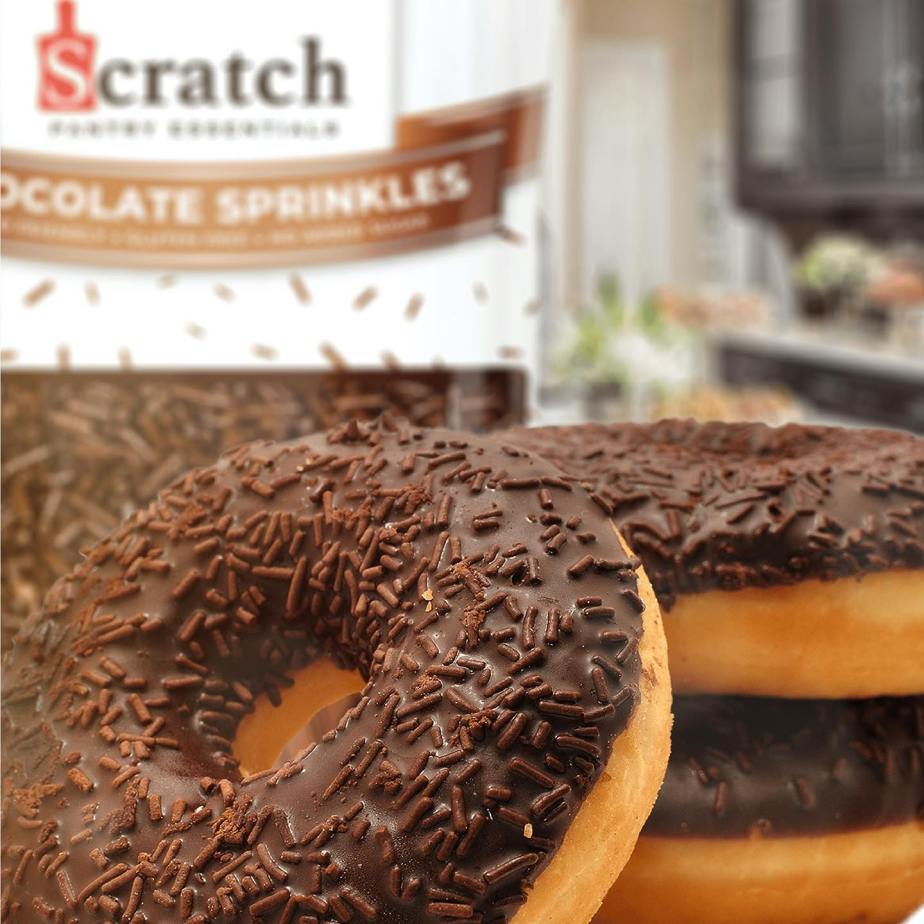
Having Your Cake and Eating It Too: Healthy Eating
With zero-sugar and the taste of homemade, Scratch Kitchen Pantry offers cake, muffin, and other mixes…
-
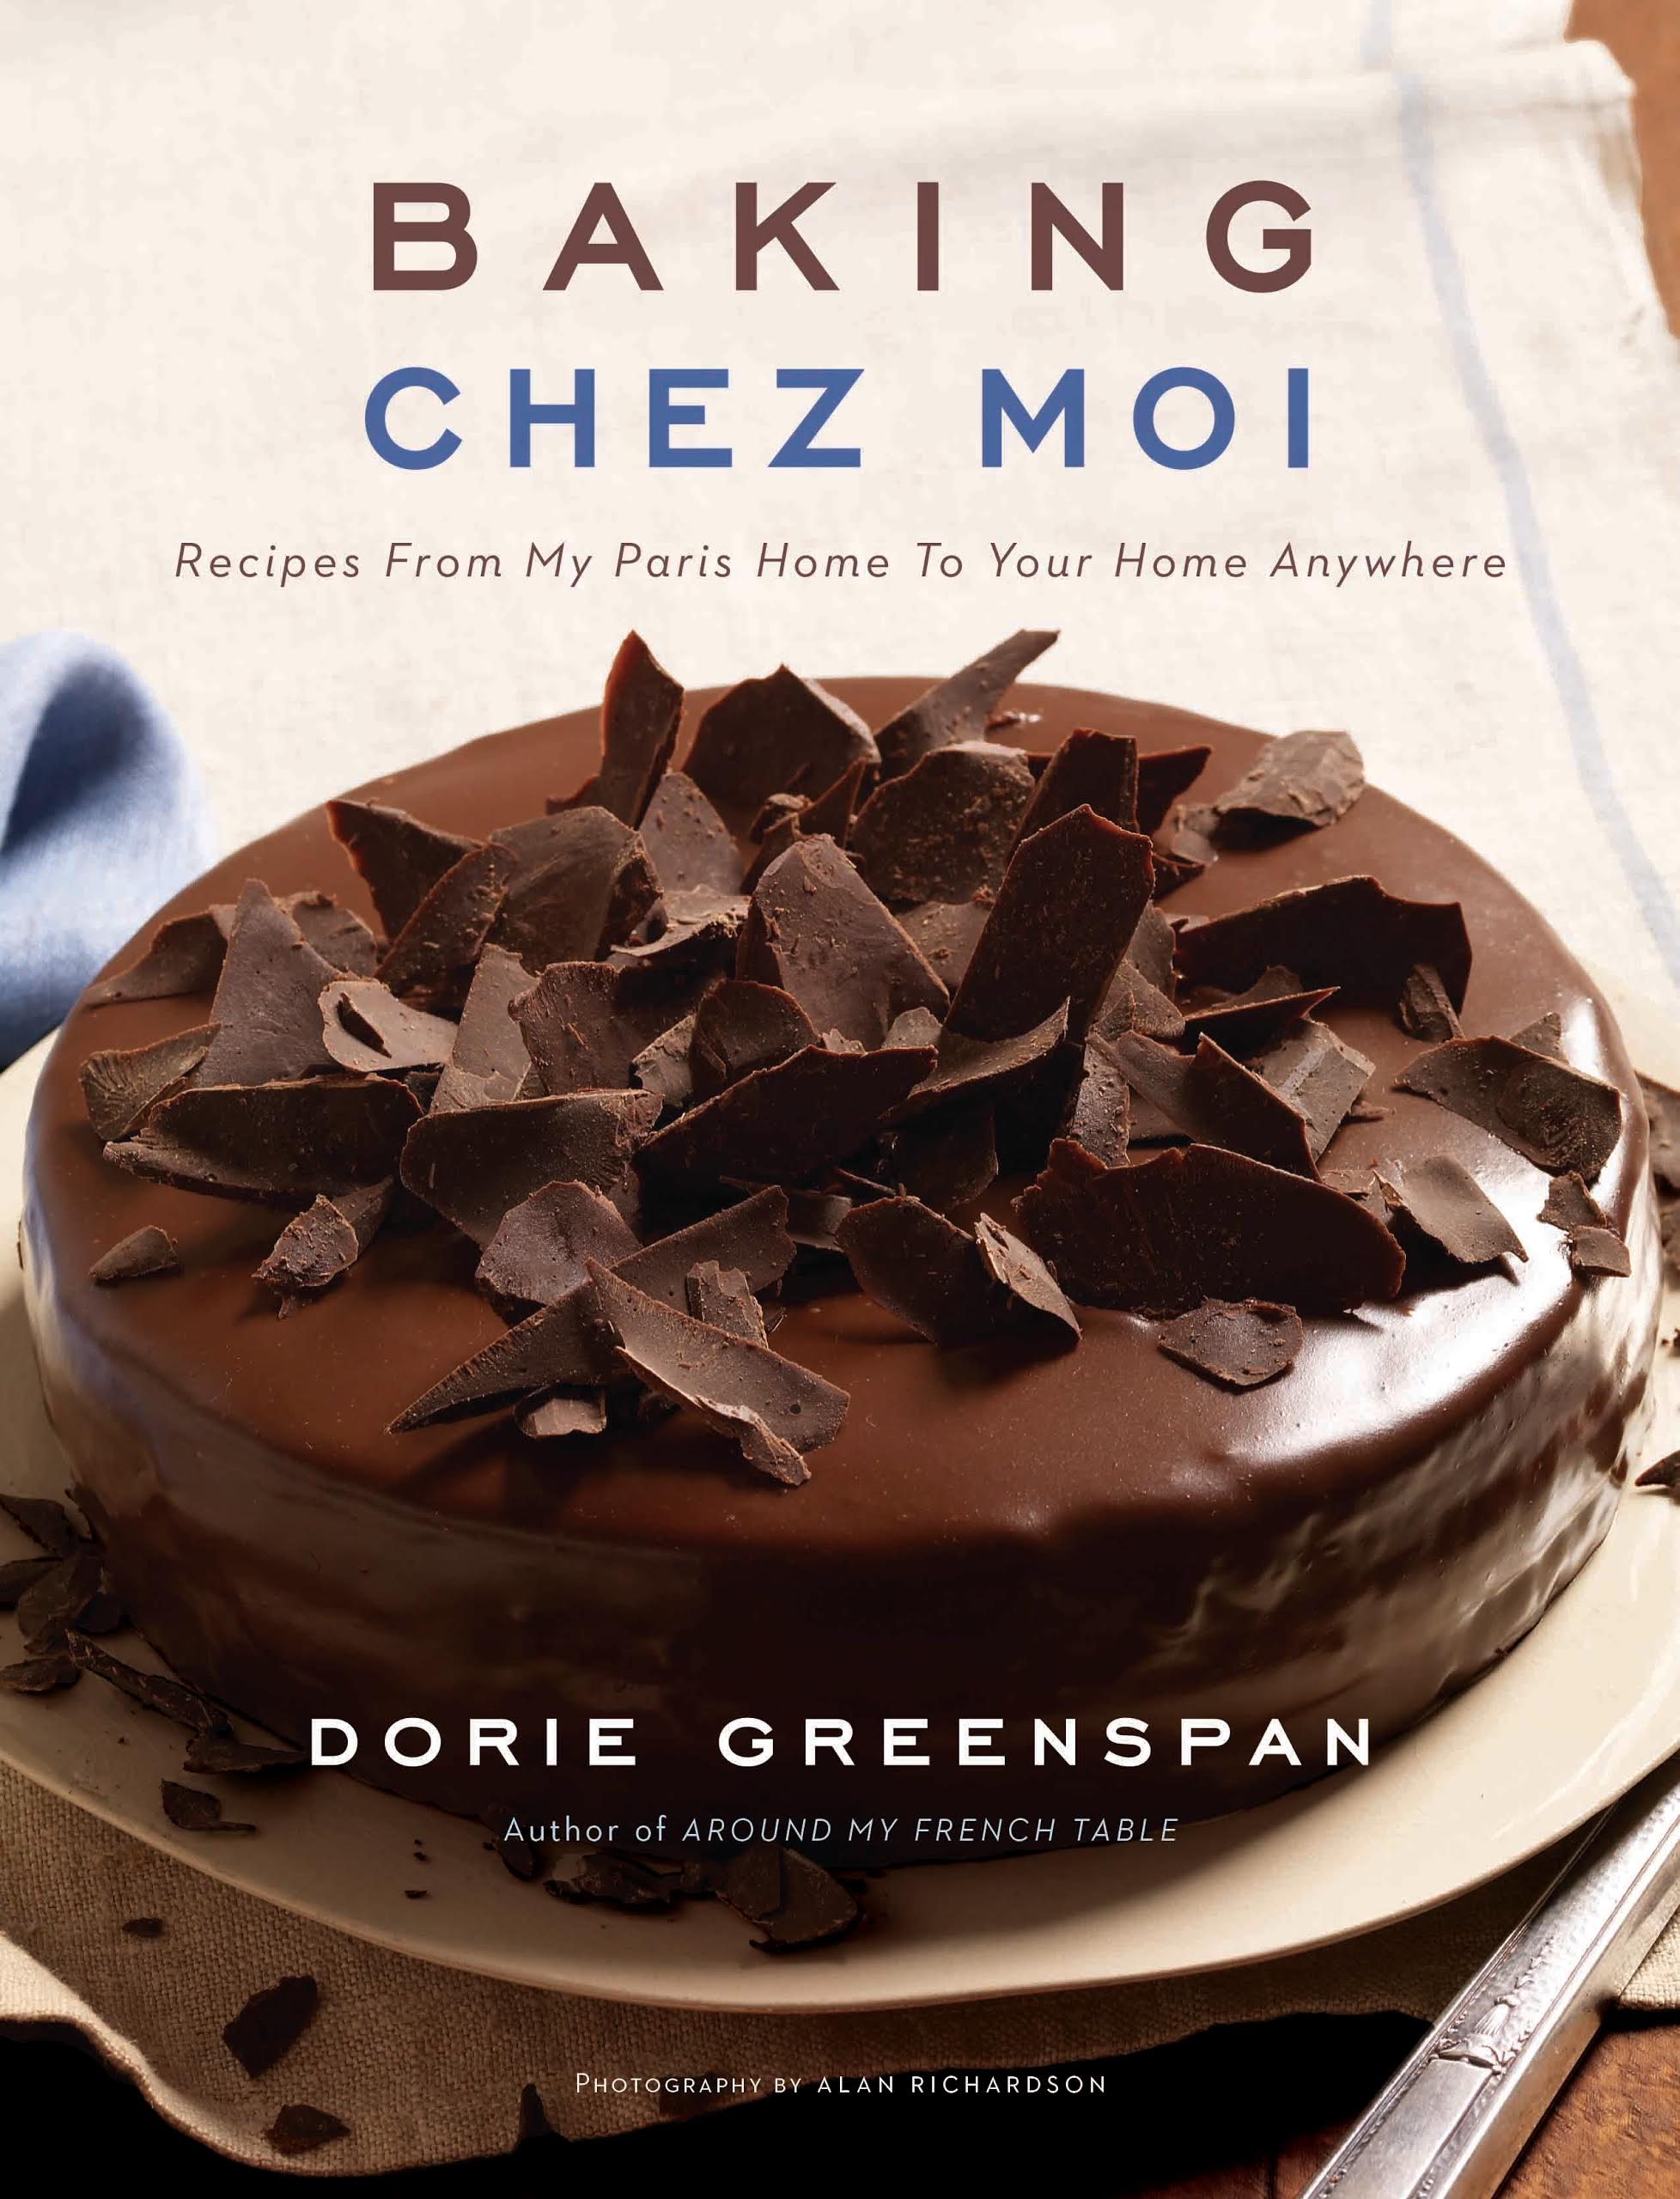
Baking Chez Moi: Recipes from My Paris Home to Your Home Anywhere
For the truly sinful, not to be missed are such classic cookbooks as Dorie Greenspan’s Baking…
-
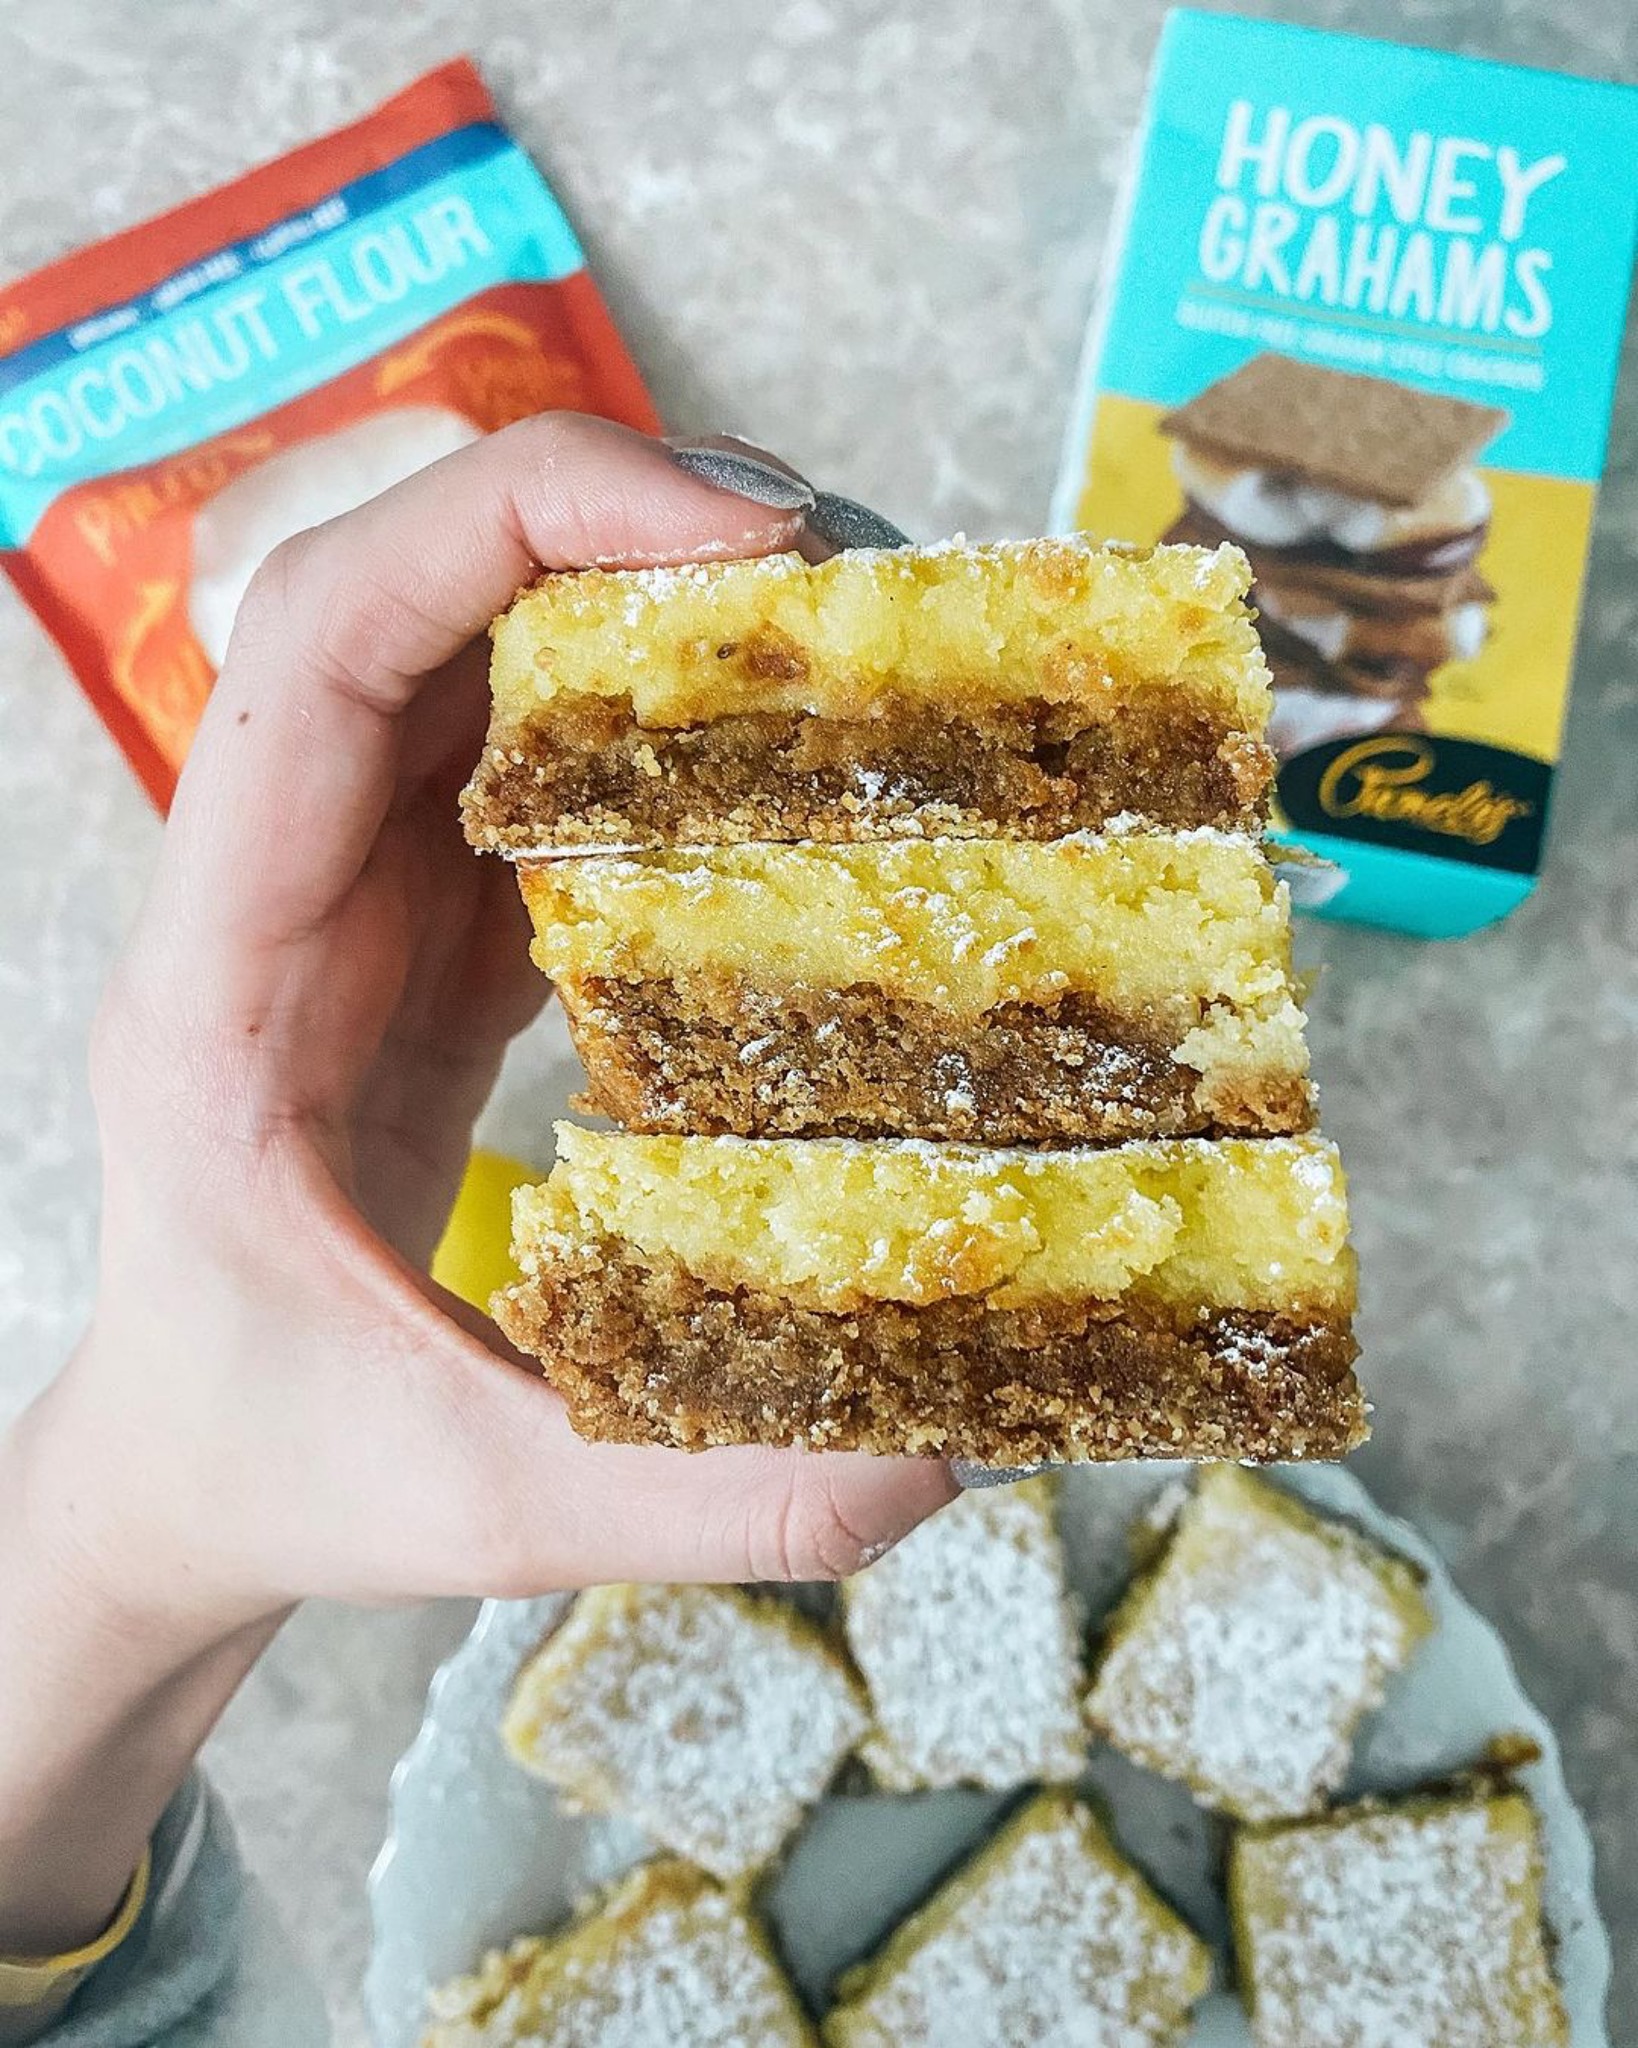
Gluten-free and Easy-to-Make
Remember when gluten-free usually meant taste-free? Thank goodness so many great gluten-free products are now available.…
-
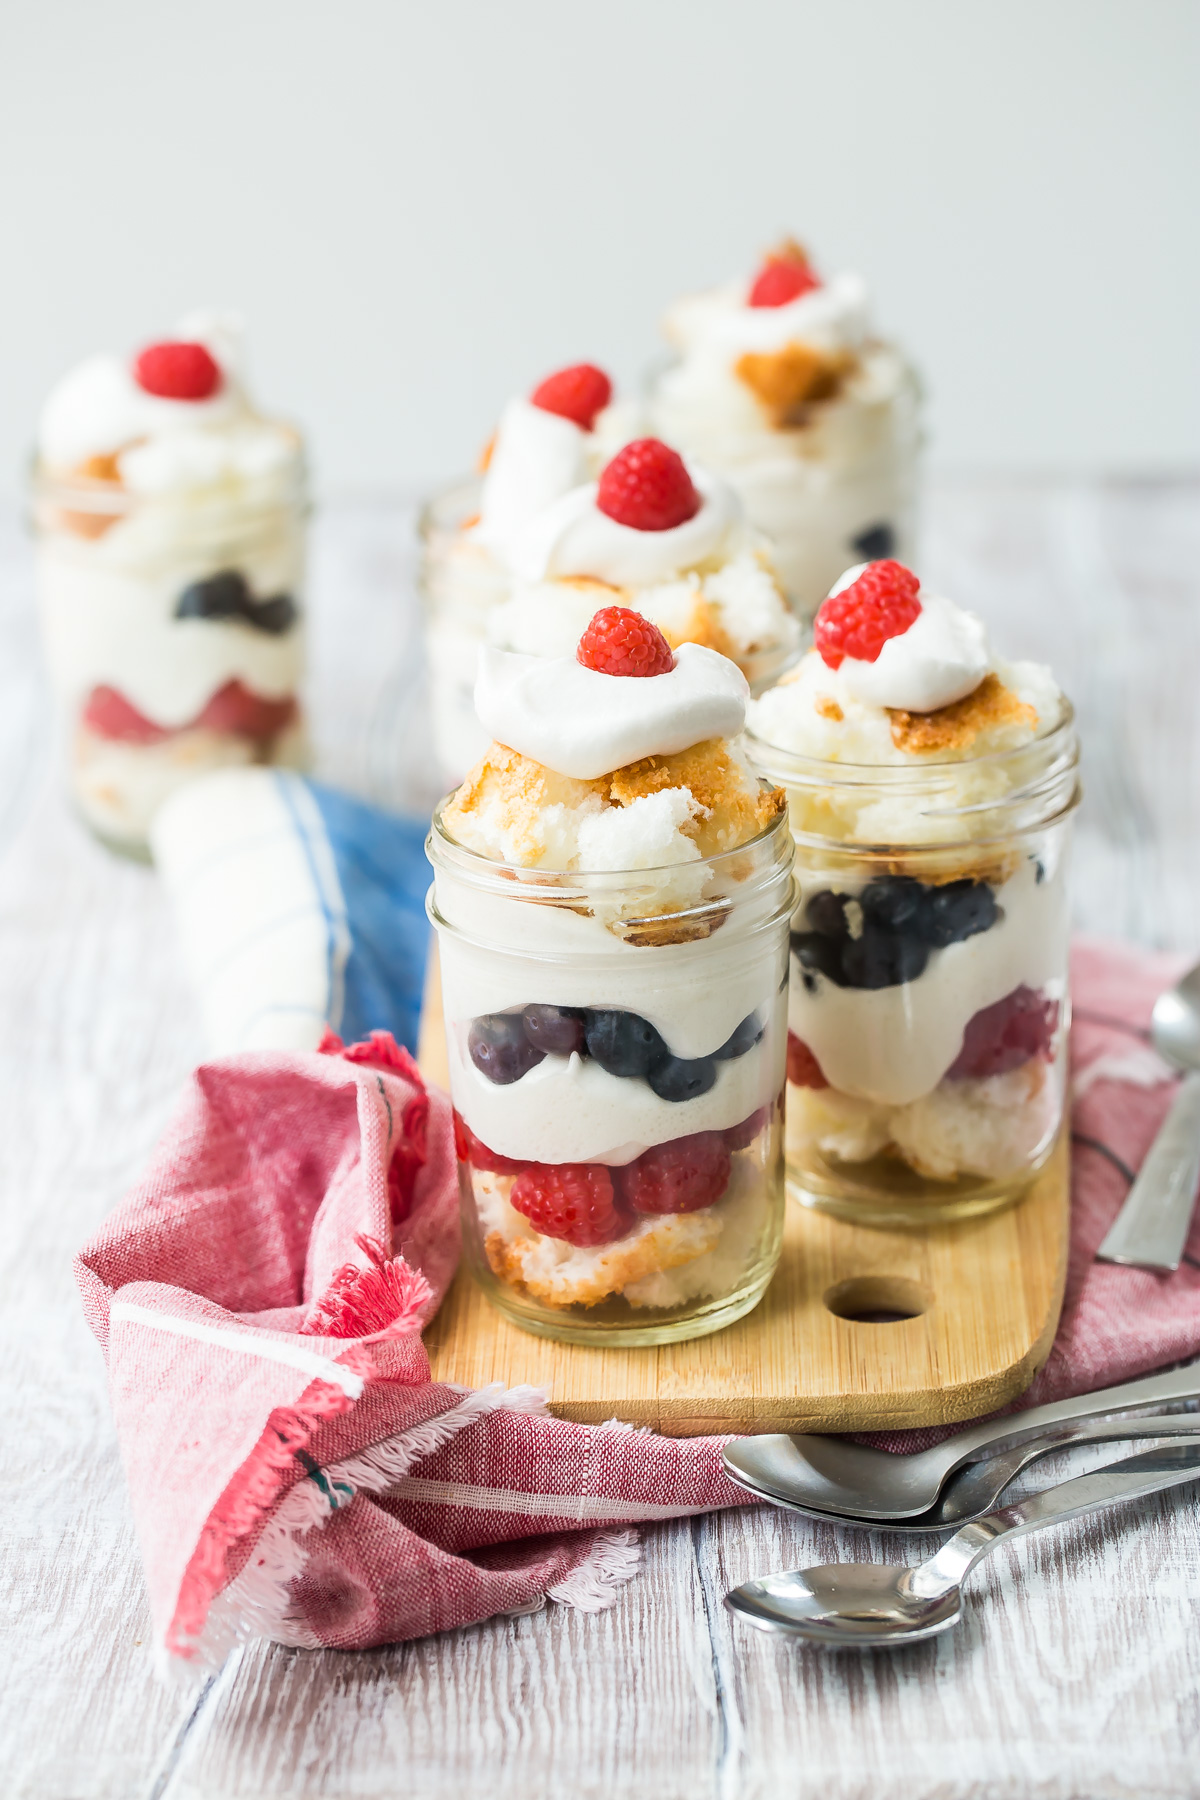
Weelicious: Fourth of July Meals and Beyond
Red, white, and blue food is always part of the upcoming Fourth of July holiday and…
-
Angela Medearis: The Ultimate Kitchen Diva
Medearis, a television chef known as the Kitchen Diva, has written 107 books. Many are children’s…
-
The Unofficial Disney Parks Cookbook: From Delicious Dole Whip to taste Mickey Pretzels, 100 Magical Disney-Inspired Recipes
Love the food served at the Disney Parks? While we can’t take home the rides or…


