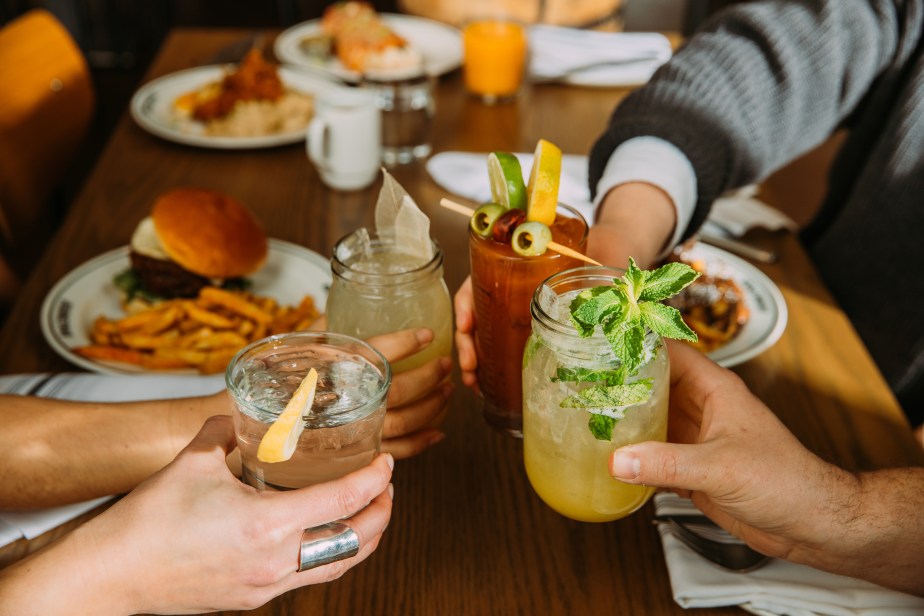
Family & Kids Cooking
-
Bring Me The News: Riverside town in Minnesota named one of the Midwest’s best small towns
https://bringmethenews.com/minnesota-lifestyle/riverside-town-in-minnesota-named-one-of-the-midwests-best-small-towns
-

Celebrate 65 Days of Christmas at Dollywood Resorts
Starting on November 1, guests staying at Dollywood Resorts in Pigeon Forge, Tennessee, will get to experience the…
-
-
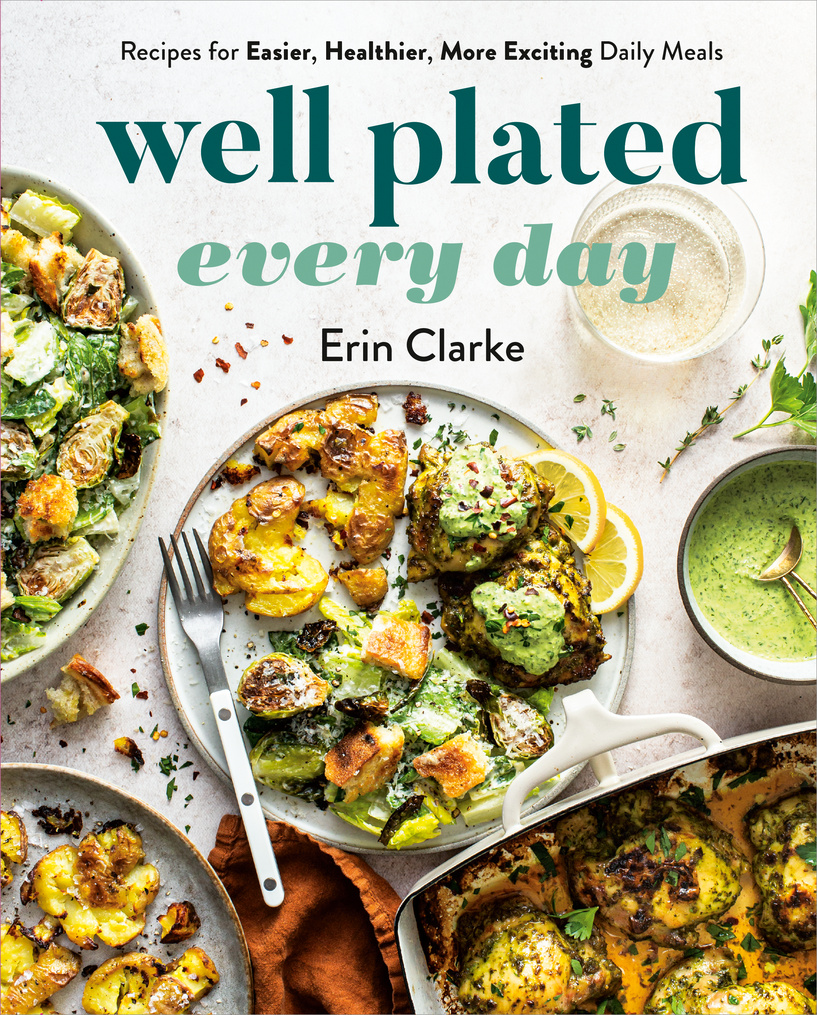
Recipes from Erin Clarke’s New Cookbook
The year was 2012, a time when not everyone—and their pet—had a blog. But Erin Clarke,…
-
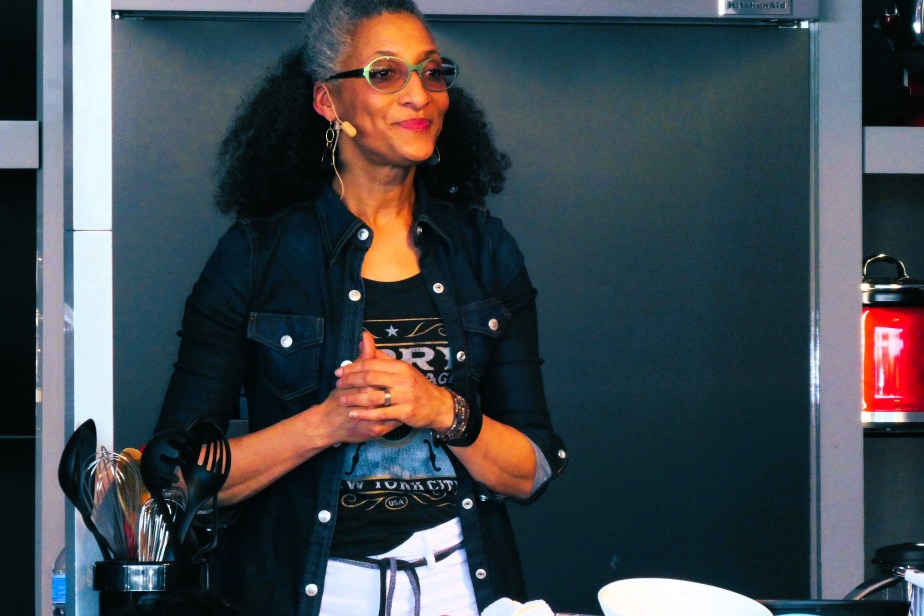
Celebrity Chefs Star at This Year’s KitchenAid Senior PGA Championship
KitchenAid is once again elevating the fan experience at the upcoming 2024 KitchenAid Senior PGA Championship,…
-
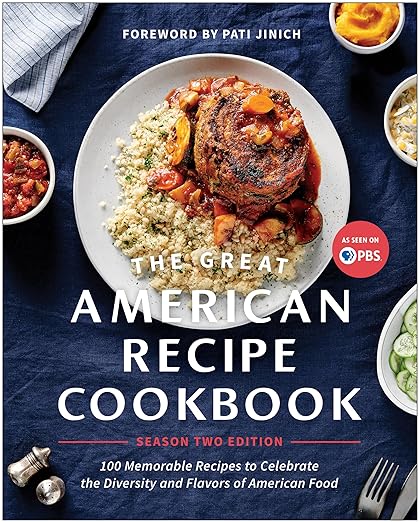
The Great American Recipe Cookbook: 100 Memorable Recipes to Celebrate the Diversity and Flavors of American Food Foreword by Pati Jinich
“opens the door to what American cookery is—the coming together of cultures, identities, flavors, and tastes…
-
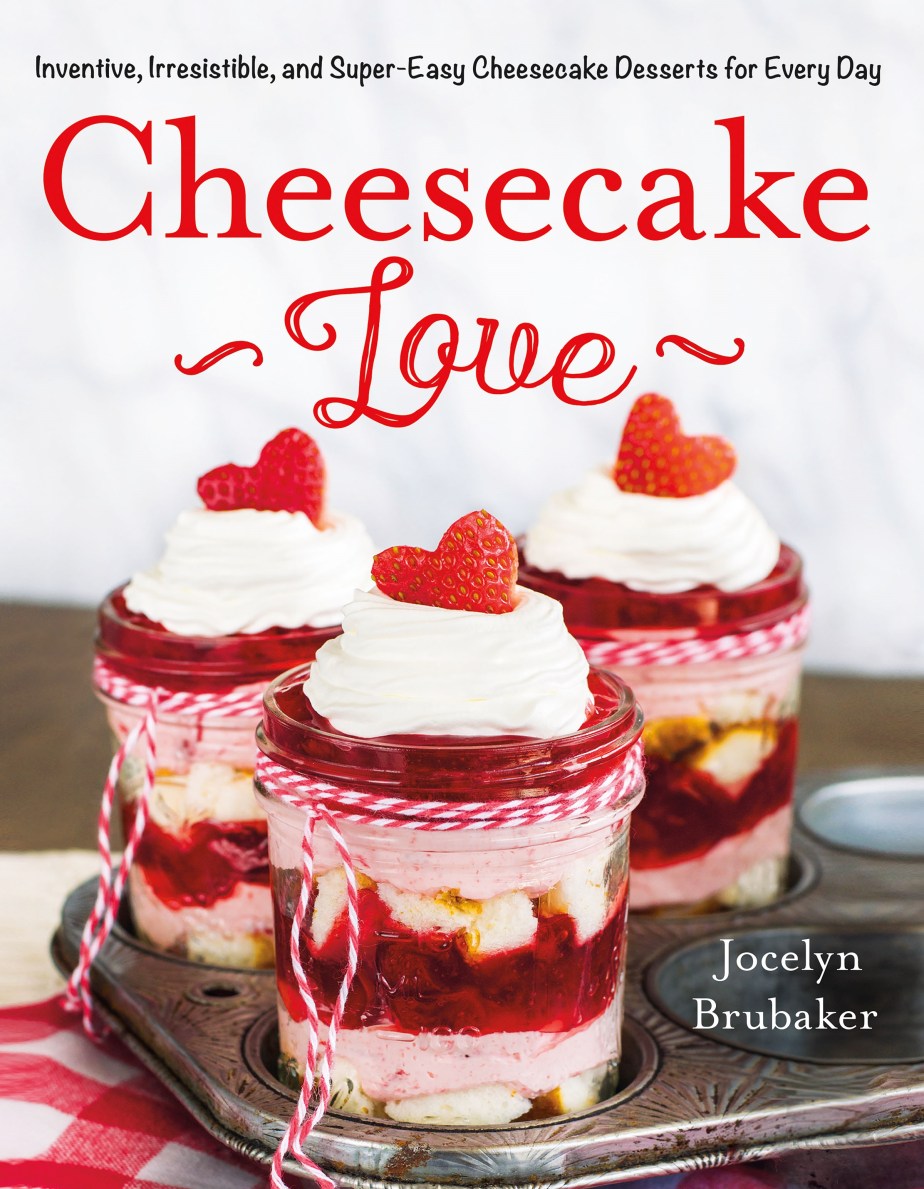
Cheesecake Love by Joyce Brubaker
“If it doesn’t have cheesecake in it, it should” is the baking motto that Jocelyn Brubaker…
-
Cheesecake Love by Joyce Brubaker
“If it doesn’t have cheesecake in it, it should” is the baking motto that Jocelyn Brubaker…
-

Four Cooking Kits Helps Hone Home Kitchen Skills in Young Chefs
The Unicorn Cookie Cups Baking Kit by The Cookie Cups, which comes in a pretty pink…
-
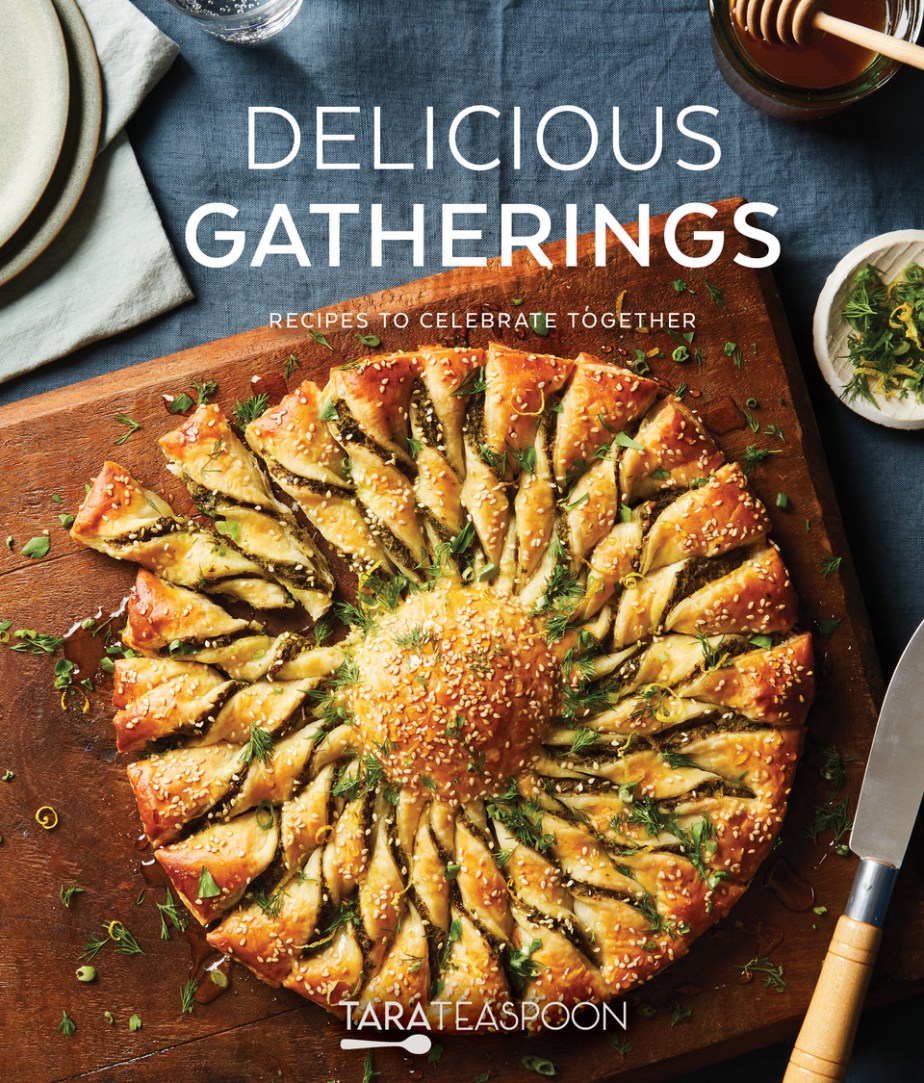
Tara Teaspoon: Delicious Gatherings
Tara Teaspoon’s latest cookbook shows us how to celebrate life’s special events.


