Chroncile Books
-

Flavors of the Sun: Middle Eastern Ingredients from a Century Old Family Business
Christine Sahadi Whelan brings more than a century of her family’s heritage, the James Beard Winner…
-
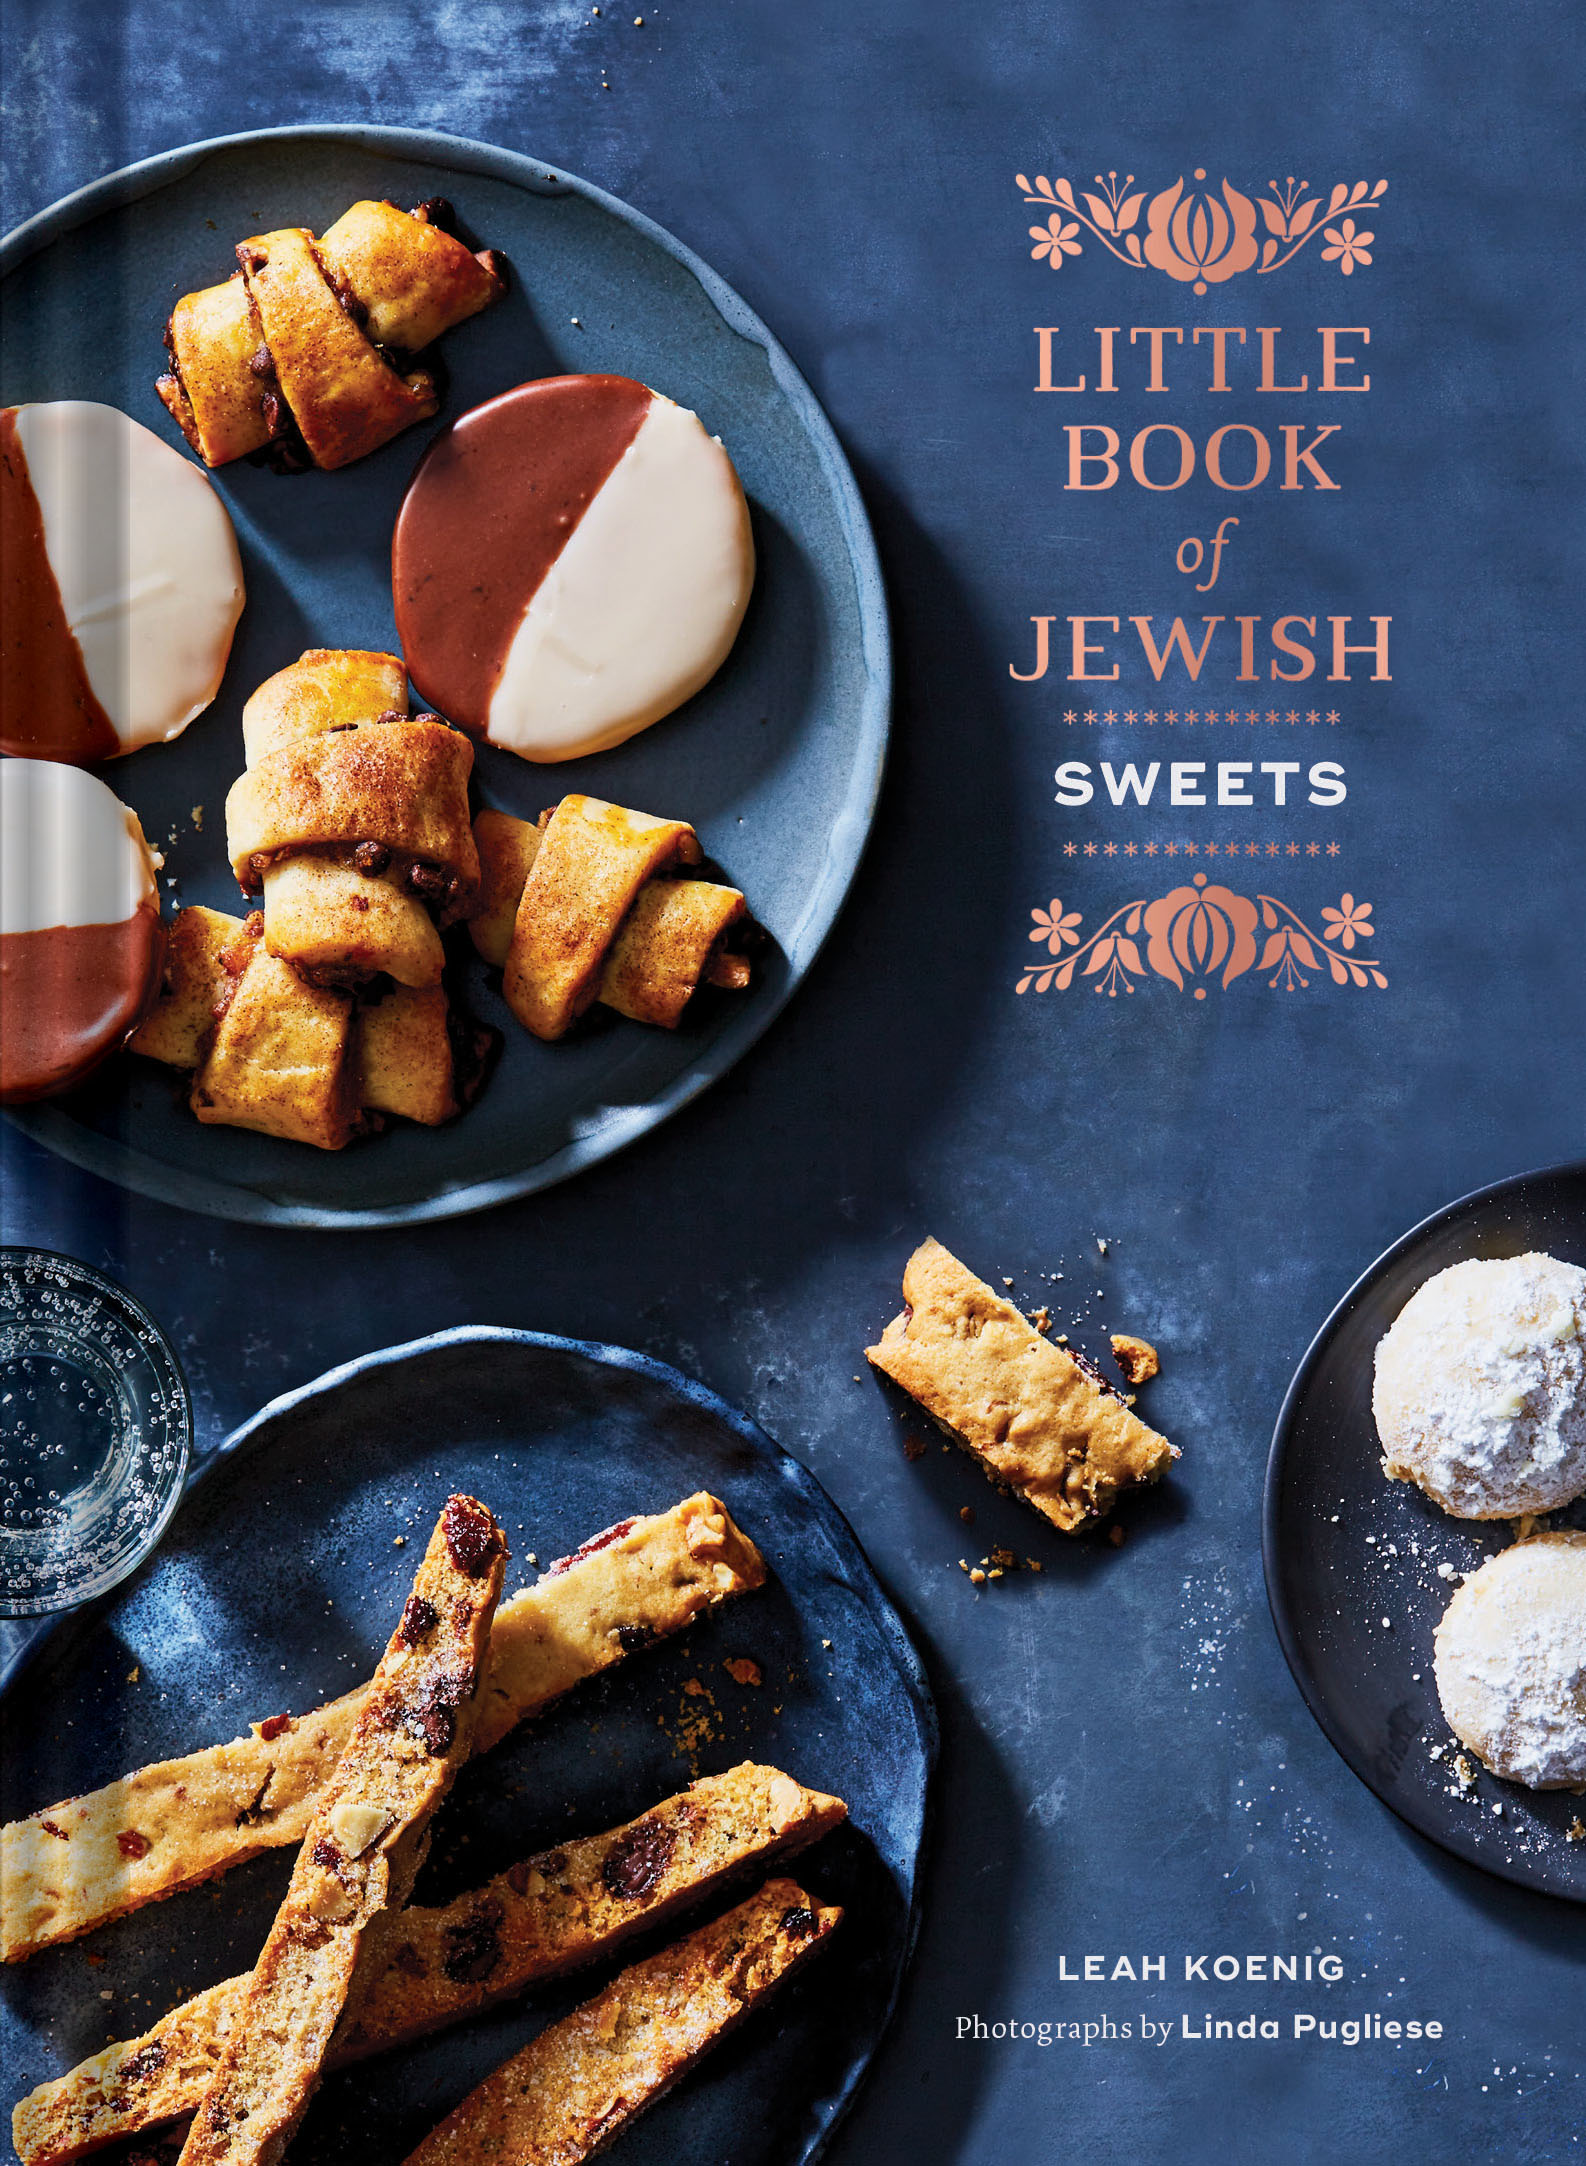
Little Book of Jewish Sweets
This February is the celebration of Purim, the Jewish holiday honoring Queen Esther of Persia…
-

Disco Cubes: Ice is a big part of the mix in making great cocktails
“The cube itself is just the container for whatever you put inside, like a tiny 3-dimensional…
-

Eat Something: A Wise Sons Cookbook for Jews Who Like Food and Food Lovers Who Like Jews
A combination cookbook, Jewish stand-up comedy and family album, Eat Something: A Wise Sons Cookbook for…
-
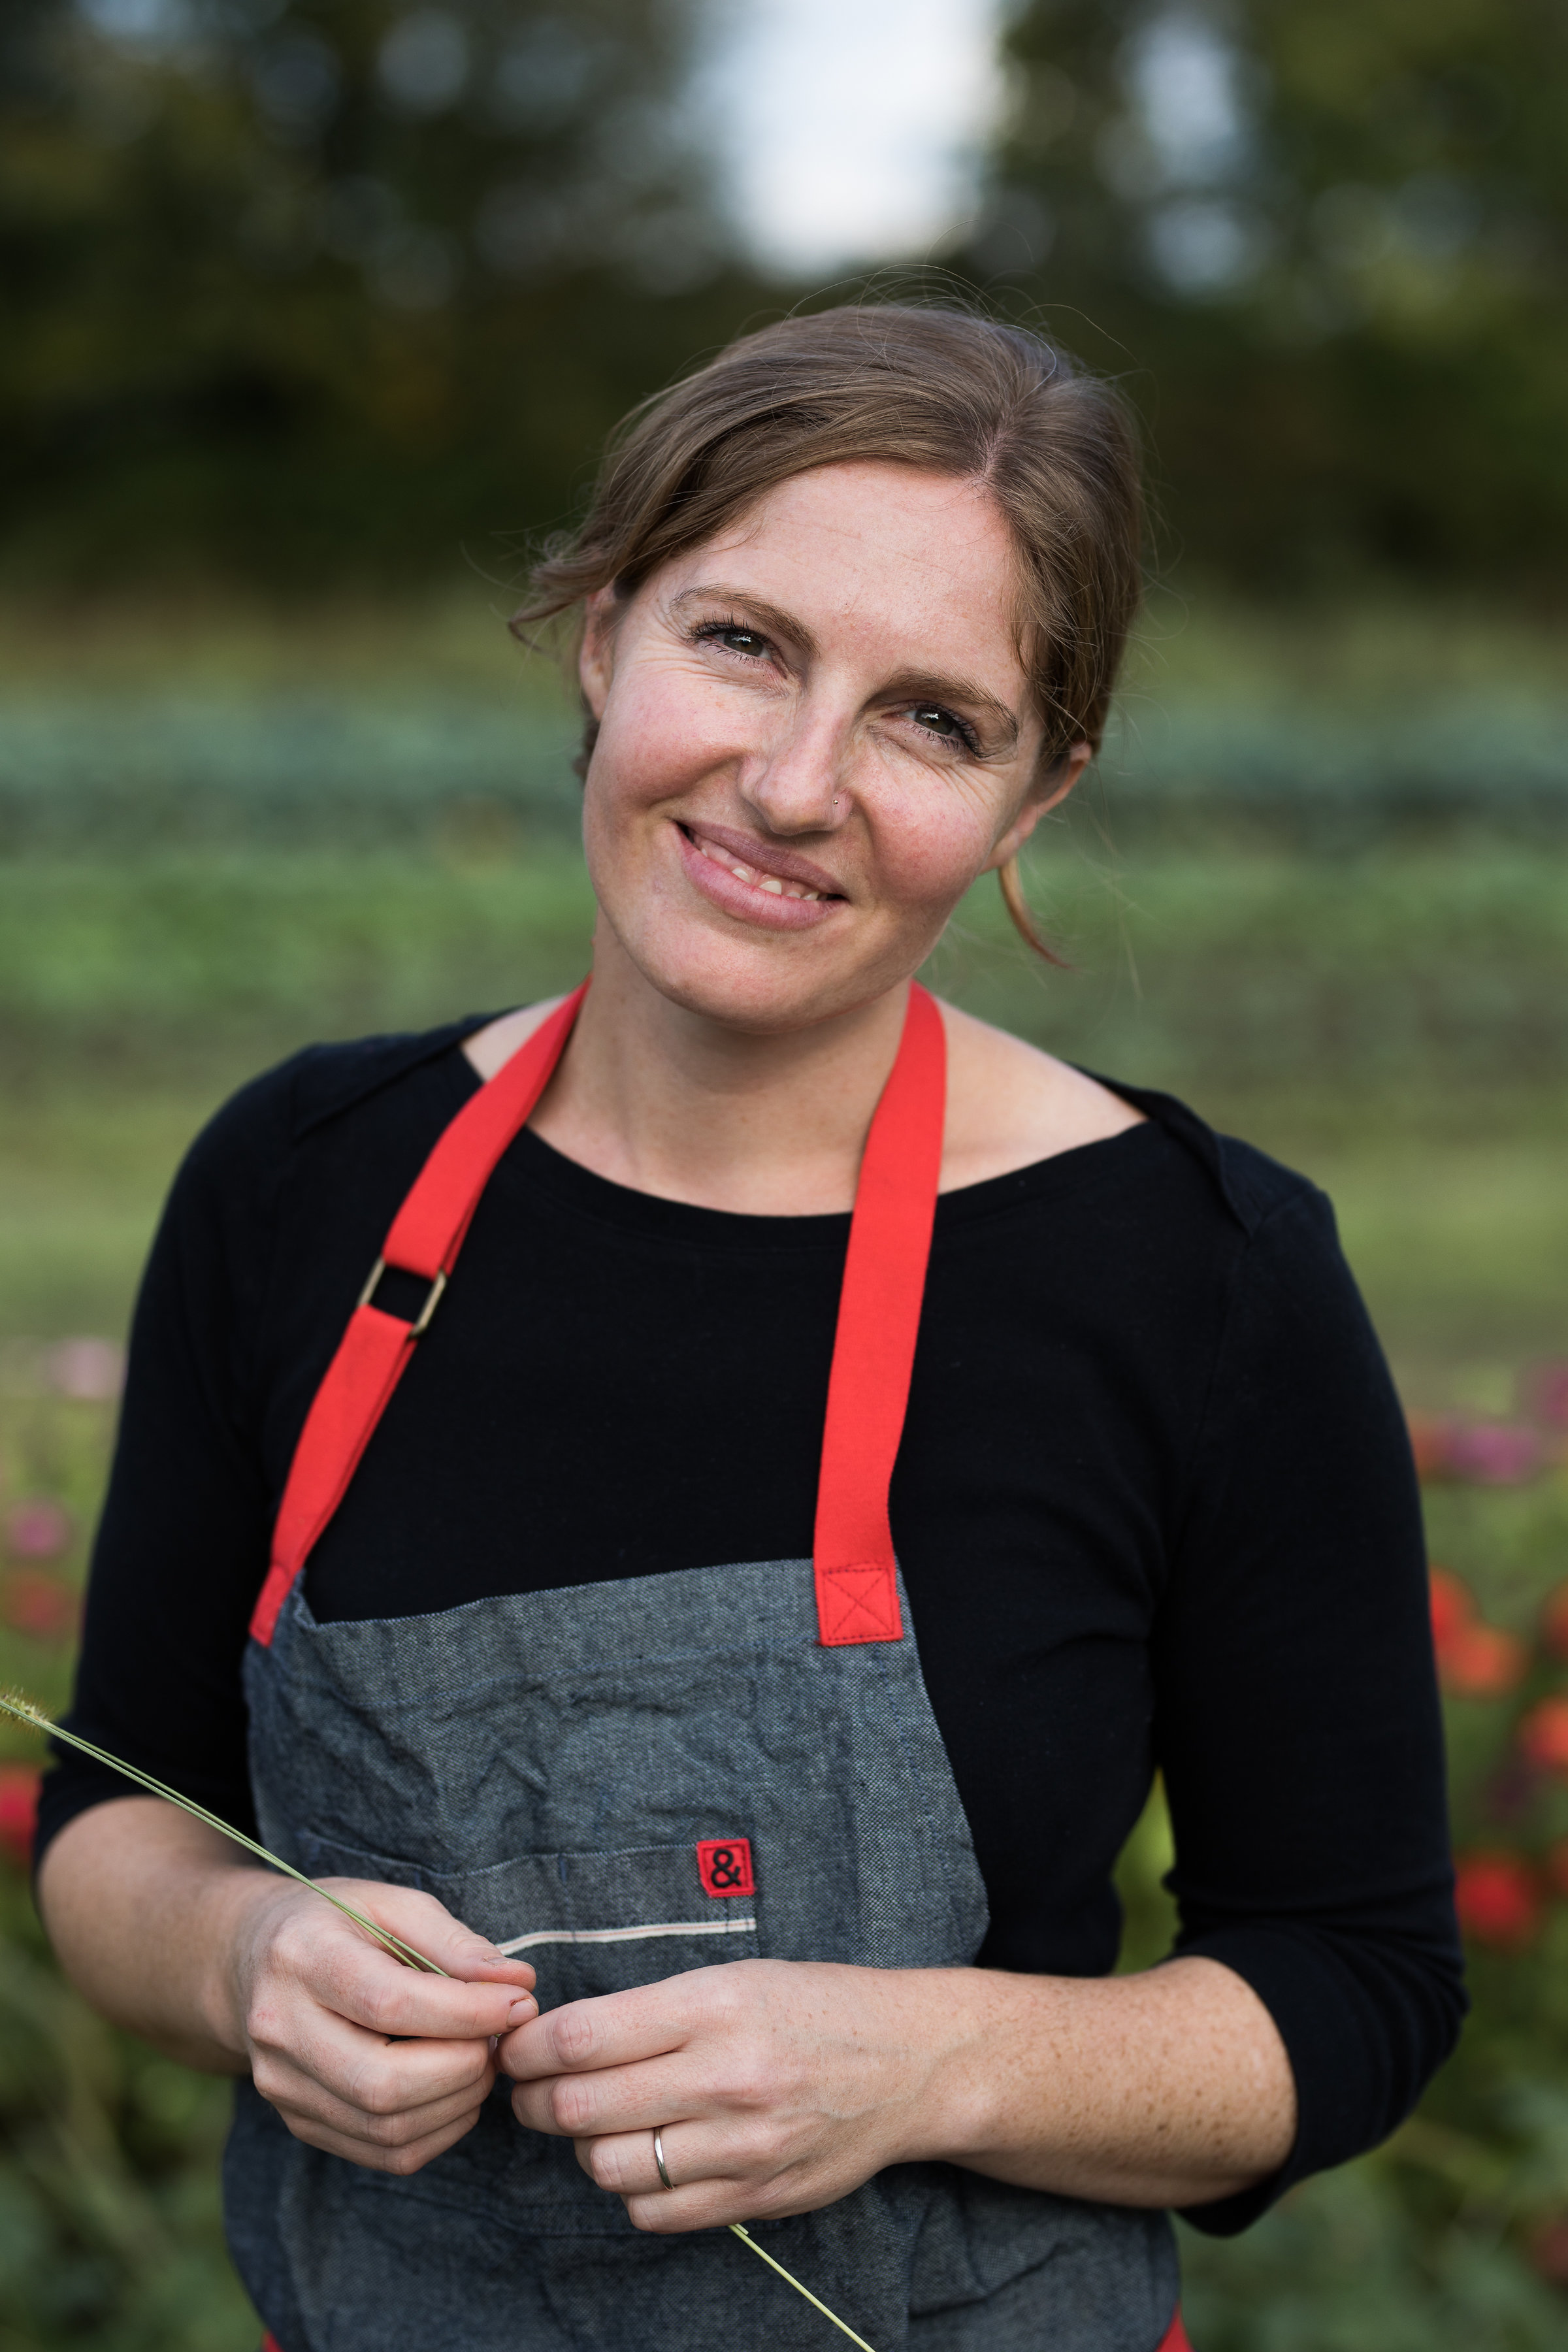
Abra Berens: Lessons from the farm & James Beard nominee
Abra Berens, chef in residence for Granor Farm in Three Oaks was nominated for the Best…
-
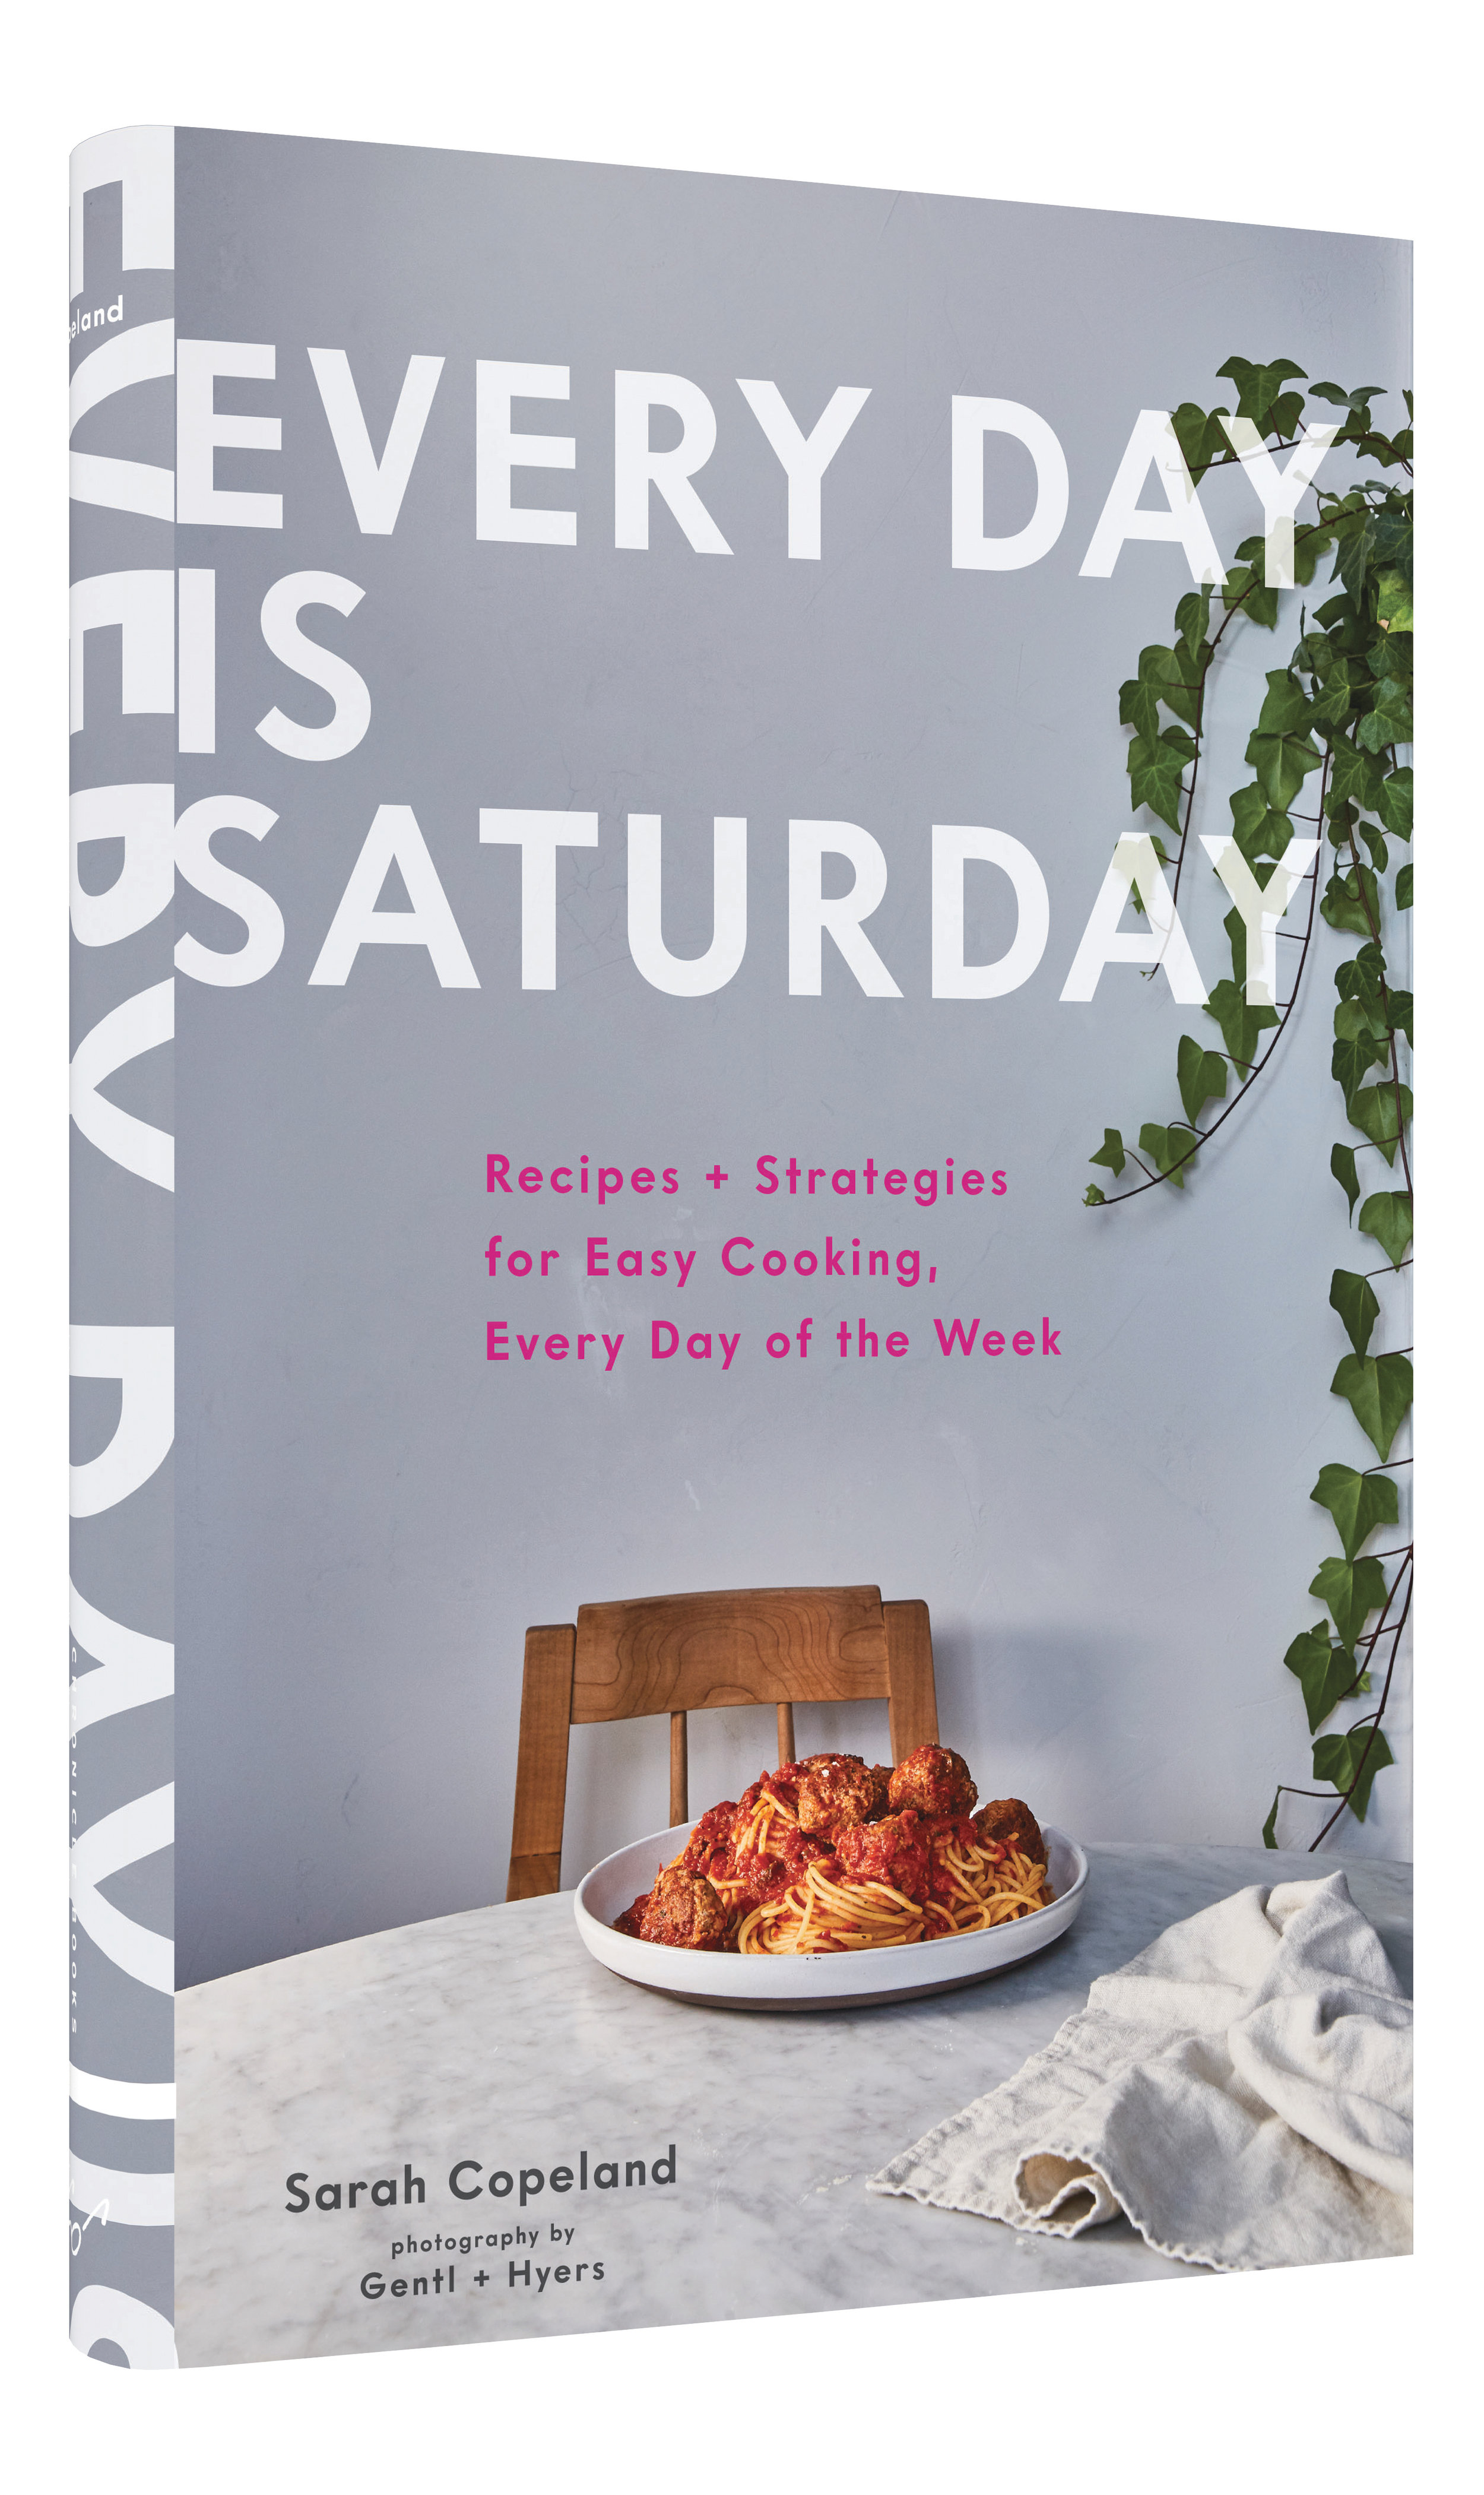
Every Day Is Saturday: Recipes + Strategies for Easy Cooking, Every Day of the Week
Want a dinner that tastes like Saturday night when you’ve had all day to putter around…
-
Cookbooks for Holiday Giving
I always think cookbooks make great holiday presents and so I asked Carrie Bachman and…
-
The Vintage Baker: More Than 50 Recipes from Butterscotch Pecan Curls to Sour Cream Jumbles
The author, an avid collector of vintage recipe booklets, shares some of her finds–updating them with…


